
Saint from RetroHQ has just released the latest firmware for his Atari Jaguar Game Drive. This version adds preliminary support for Jaguar CD images, however they need to be converted and loaded in the proper order. Please see below for more info:
Download the firmware here (bottom of page): https://www.retrohq.co.uk/products/atari-jaguar-gd-flash-cartridge
Jaguar GameDrive US Seller: http://bit.ly/jaguargamedrive
GameDrive UK Seller: https://retrogamerstuff.com/collections/gamedrive/products/jaguar-gamedrive?ref=9qd6Y
MicroSD Card*: https://amzn.to/3uU0PNx
*The entire romset, including discs is under 7GB, but that 32GB card is cost-effective and fast enough to support CD images.
In order to get Jag CD support working properly, I suggest you do a few things in a specific order. First, as always, make sure your Jaguar is in good, working condition. If you haven’t used it recently, try loading and playing a few minutes of a game from your GameDrive with it’s current (previous) firmware.
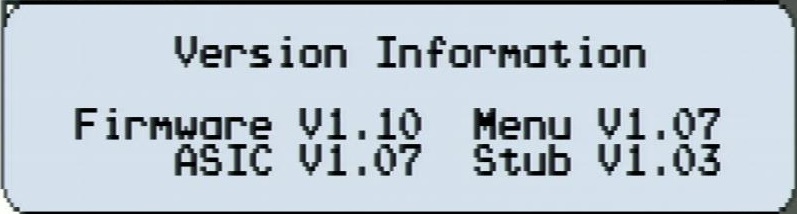
Next, download the latest firmware file from the link above, extract it to your computer and copy the “firmware.upd” file to the root of your GameDrive’s MicroSD card. The next time you power on your Jaguar, it will update. After it boots to the menu, hit zero on your gamepad to confirm the version; It should be the same or higher as below:
After the update has been properly confirmed, try loading the same game you did before. I know this might sound overly-cautious, but the Atari Jaguar is one of the most temperamental consoles I’ve ever used, second only to the CDi. After you’ve confirmed it’s working, you can proceed. If you have any issues playing the same rom, your Jaguar might need servicing. Worse case scenario, you can revert to an older firmware. Assuming it still works…
The next step in preparing for Jag CD support is to prepare the CD images. Regardless if you ripped your own, or got them from somewhere online, you’ll need to convert them for use in the Game Drive, with the following command line tool – Make sure to have the latest Visual Studio runtime libraries installed, for the tool to work properly: https://www.retrohq.co.uk/product/jaggd/cd2jcd.zip
After all your CD images are converted, you’ll now need to format your MicroSD card. This is one drawback of JagCD support: The JCD files need to be stored contiguously on the memory card. Unfortunately, you’ll need to re-format each time you add or remove a JCD image.
There is good news though! With the cheap 32GB MicroSD card listed above, I was able to complete everything in about two minutes! That’s:
- Format the card FAT32
- Copy the CD directory, containing all 13 Jaguar CD games
- Copy the remaining directories
- Eject, insert the card into the GameDrive, power on your Jag.
If you look at it as “adding a new JagCD homebrew would take about two minutes”, then it’s not a big issue. I think if the CD set were as big as say, the Sega CD romset, then this would be a huge problem. Luckily, that’s not the case here.
I’d also make sure your MicroSD is a decent brand and fast enough. The one linked above is $10, so you definitely don’t need to break the bank, but I wouldn’t use some old thing you have lying around. If the GameDrive finds any issues with the JCD image, it won’t run it and if you’d like to check your card manually, you can hit 7+9 on the controller when in the menu to scan the card: No info after it’s done scanning means it didn’t find any problems. Hopefully James will add a “your card is fine!” prompt in a future firmware update, just for peace of mind.
More info can be found on the AtariAge forum and ctrl-alt-rees did a video demoing it’s features (below): https://atariage.com/forums/topic/319496-cd-game-support/
Also, if you’d like to learn more about James and his storied history, check out our interview:
