Here’s a quick installation guide for replacing the N64’s stock controller stick with an aftermarket:
Auto Amazon Links: No products found. http_request_failed: A valid URL was not provided. URL: https://ws-na.amazon-adsystem.com/widgets/q?SearchIndex=All&multipageStart=0&multipageCount=20&Operation=GetResults&Keywords=B07KRDD9R8&InstanceId=0&TemplateId=MobileSearchResults&ServiceVersion=20070822&MarketPlace=US Cache: AAL_0fcce229b3a6c3dd06aab4afa53b925e
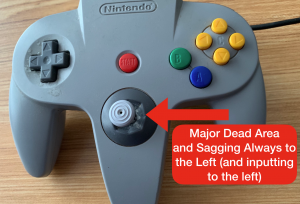
The install was easy and pretty quick.
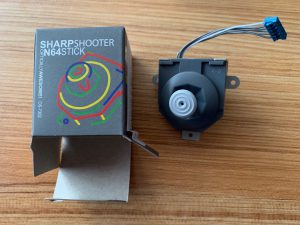
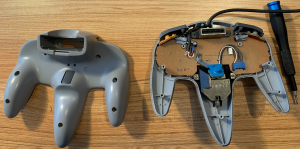

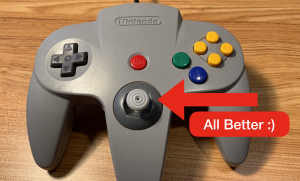
Everything seemed to work well while using the Sharpshooter. However, two things I did notice. First, the stick travel was not as smooth as an original unit. This wasn’t bad, it just felt a tiny bit gritty. Something that I could forget about once into a game. The second item was a small waggle area (a few millimeters) in the stick’s center area.

For comparison I used a new original N64 controller which had less than 5 hours of use on it.
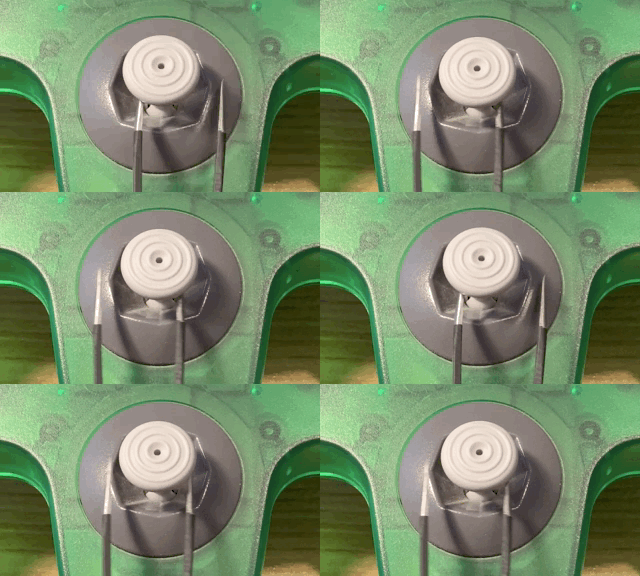
The original did have a small bit of waggle area but it did seem like it was a smidge less than the Sharpshooter. So far, I have put a few hours on my Sharpshooter stick and I’ve been pretty happy with it. I was glad I could save my old controller while keeping the classic feel. I’ve bought aftermarket N64 controllers and although they get the job done most feel light/cheap in the plastic they use for the housing and buttons. Doing something like replacing the thumb stick adds new life to your old but otherwise fine N64 controller.
Please check out everything else this site has to offer, including reviews, installation guides, hardware mods…and of course, up-to-date retro-gaming news, right on the front page!